
Wi-Fi, network and time
Access: master or installer code. Installer mode is not needed for these shared settings. Disarm before opening Settings.
Join or change Wi-Fi
Section titled “Join or change Wi-Fi”- Open Settings > Wi-Fi.
- Enter an authorized code if asked.
- Select your network from the scan results.
- Enter its Wi-Fi password and confirm.
- Wait for the connected status, then check the assigned address.
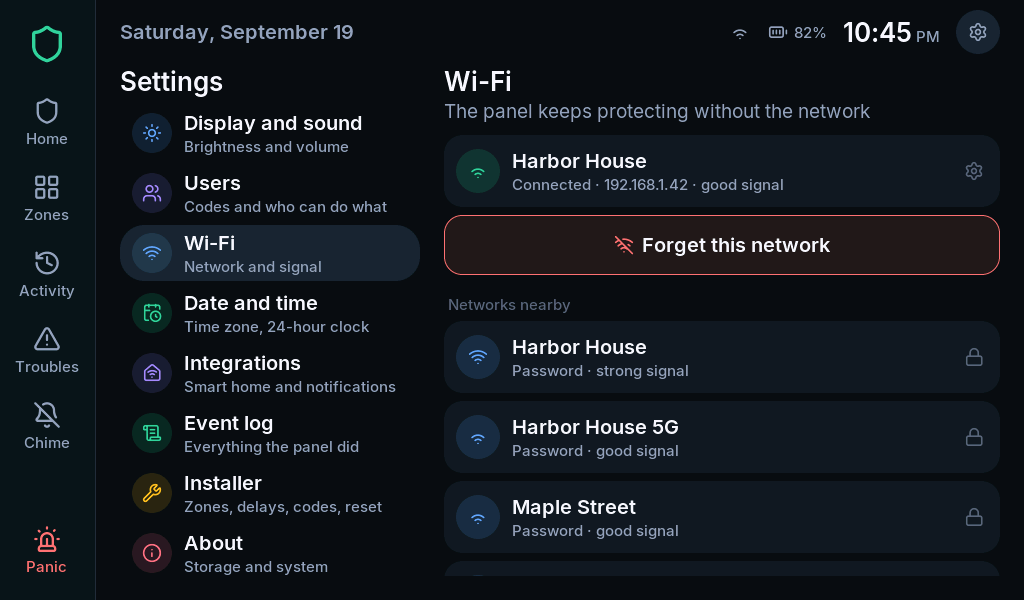
If the network is absent, check its availability and move back to the scan. A wrong password or weak connection will not be fixed by changing alarm codes.
Check the connection
Section titled “Check the connection”From the Wi-Fi/network pages, open the connection check. It tests the connection in stages so you can distinguish a missing address, router issue, DNS issue or external-service problem.
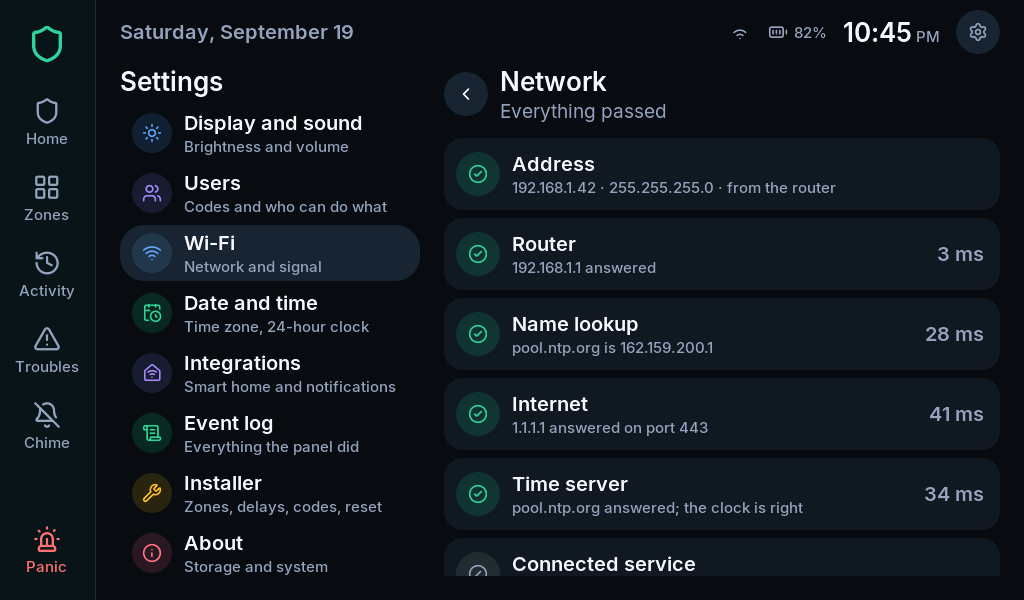
Use automatic addressing unless your network administrator has supplied the complete fixed-address settings. An IP address alone is insufficient: mask, gateway and DNS must also be correct.
Set the time zone
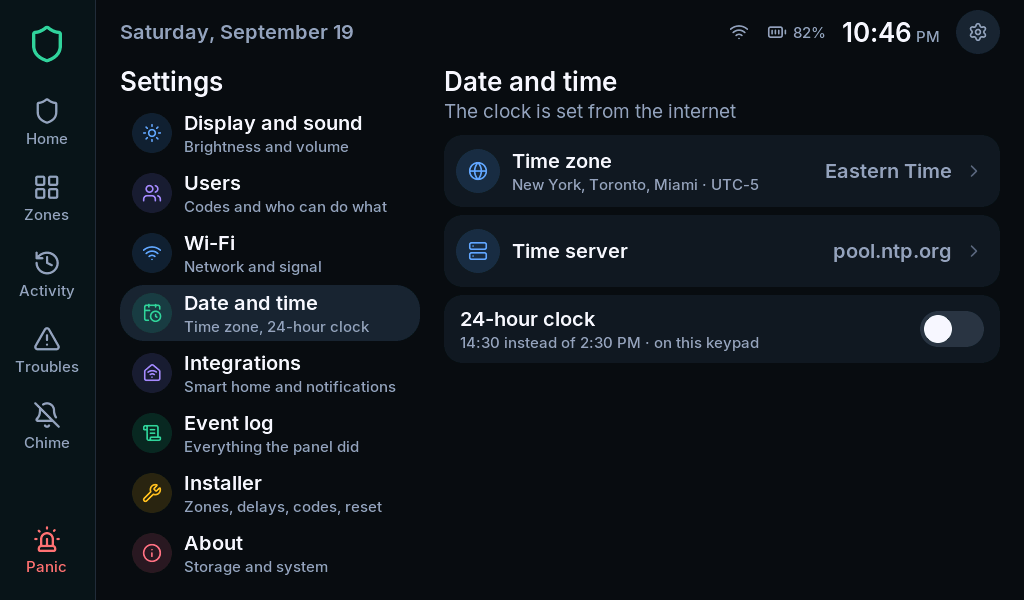
Section titled “Set the time zone”- Open Settings > Date and time.
- Select the correct time zone for the installation.
- Check the local time after network time synchronizes.
- Choose the 24-hour display if preferred.
What happens without Wi-Fi?
Section titled “What happens without Wi-Fi?”Local alarm logic continues, but network-based functions can be affected. Home Assistant sensors depend on that connection; an unavailable source is not assumed closed. Phone notifications, online update checks and network time also need their relevant services.
See troubleshooting if the panel joins Wi-Fi but a service still does not connect.